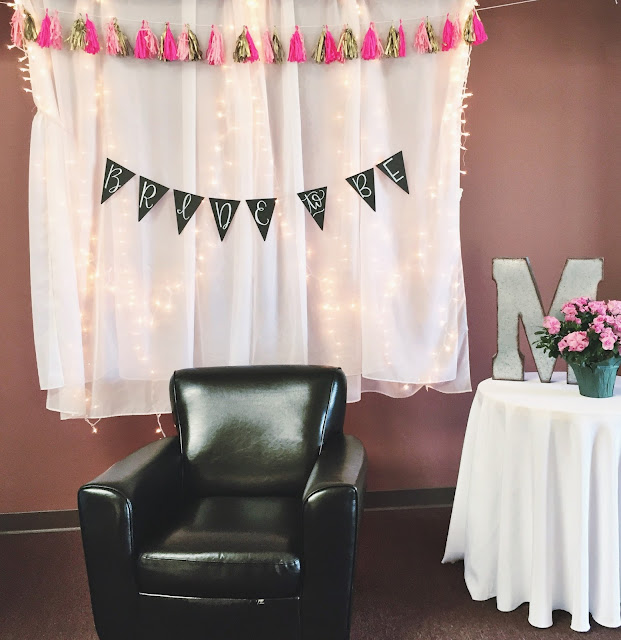
How to Make a DIY Pennant Banner
I've had the opportunity to create several different banners for parties and I love the custom touch a hand-made banner can provide. A custom-made banner can say exactly what you want, in the color and style that best fits your party. Plus if it didn't come from a store, you won't see it at anyone else's event.
Today I'm sharing a step-by-step guide to making your own simple, elegant pennant banner from scratch. In the past, I've used pre-cut pennants that I have purchased from the store. This can be a quick, easy option if you find a shape, color, and size you want. However, making your own banner from materials you might already have at home can cut cost.

Your supplies will vary based on the type of banner you want to make. I have included the supplies I used for a simple, made-from-scratch banner. Other items you may want to use are patterned paper, glitter glue, paint pens, an embosser, lace paper, or stamps. Your banner can be as simple or detailed as you want.

My supplies include: sheets of card stock paper (one sheet per pennant), ruler, pencil, scissors, hole punch, Tombow Dual Brush Pens, and hemp cord.
For this banner, I made the pennants out of a full-size 8.5 x 11" sheet of paper. To get the shape, I first marked the middle of the page with a pencil.

Next I used the ruler to draw a line from the center of the page to the top left corner and another line from the center to the top right corner. You can do this for each pennant, or you can use a cut-out pennant as a template.

After drawing the lines, cut along them to create a triangle pennant.

After cutting out all your pennants, you will want to determine the placement for the holes from which the pennant will hang. I used the ruler to measure 1/2 an inch from the top and side of the banner on each corner. This gave me a guide for hole-punching the pennant.


After hole punching one pennant, I used it as a template for the remaining pennants.


Once all your pennants have been hole-punched, they are ready to be decorated. For this pennant, I used Tombow Duel Brush Pens to write one letter per pennant. Tombow's brush pens are great for creating the look of calligraphy with the brush tip, and come in a variety of colors.
Before writing on your pennants, I recommend sketching out your design. If you haven't worked with brush pens before, it is especially important to practice writing with one so you can create the look you want. When using the brush tip, use the long edge of the brush with pressure to create thick down-strokes. Write lightly with the tip of the brush to create thin up- and side-strokes. If you would like some more tips for lettering with a brush pen, check out this instructional post.

Once you have a design you like, you can free-hand the letters on the pennants, or you can lightly sketch them first in pencil. I'm a serial free-hander, so that's what I did. I used two shades of pink to write on the pennants, 772 in blush and 800 in baby pink. I used blush to write the letters and baby pink for a hint of shadow.


Tombow Dual Brush Pens are also great for lettering because they feature a fine tip that is perfect for touching-up mistakes and smoothing out lines.


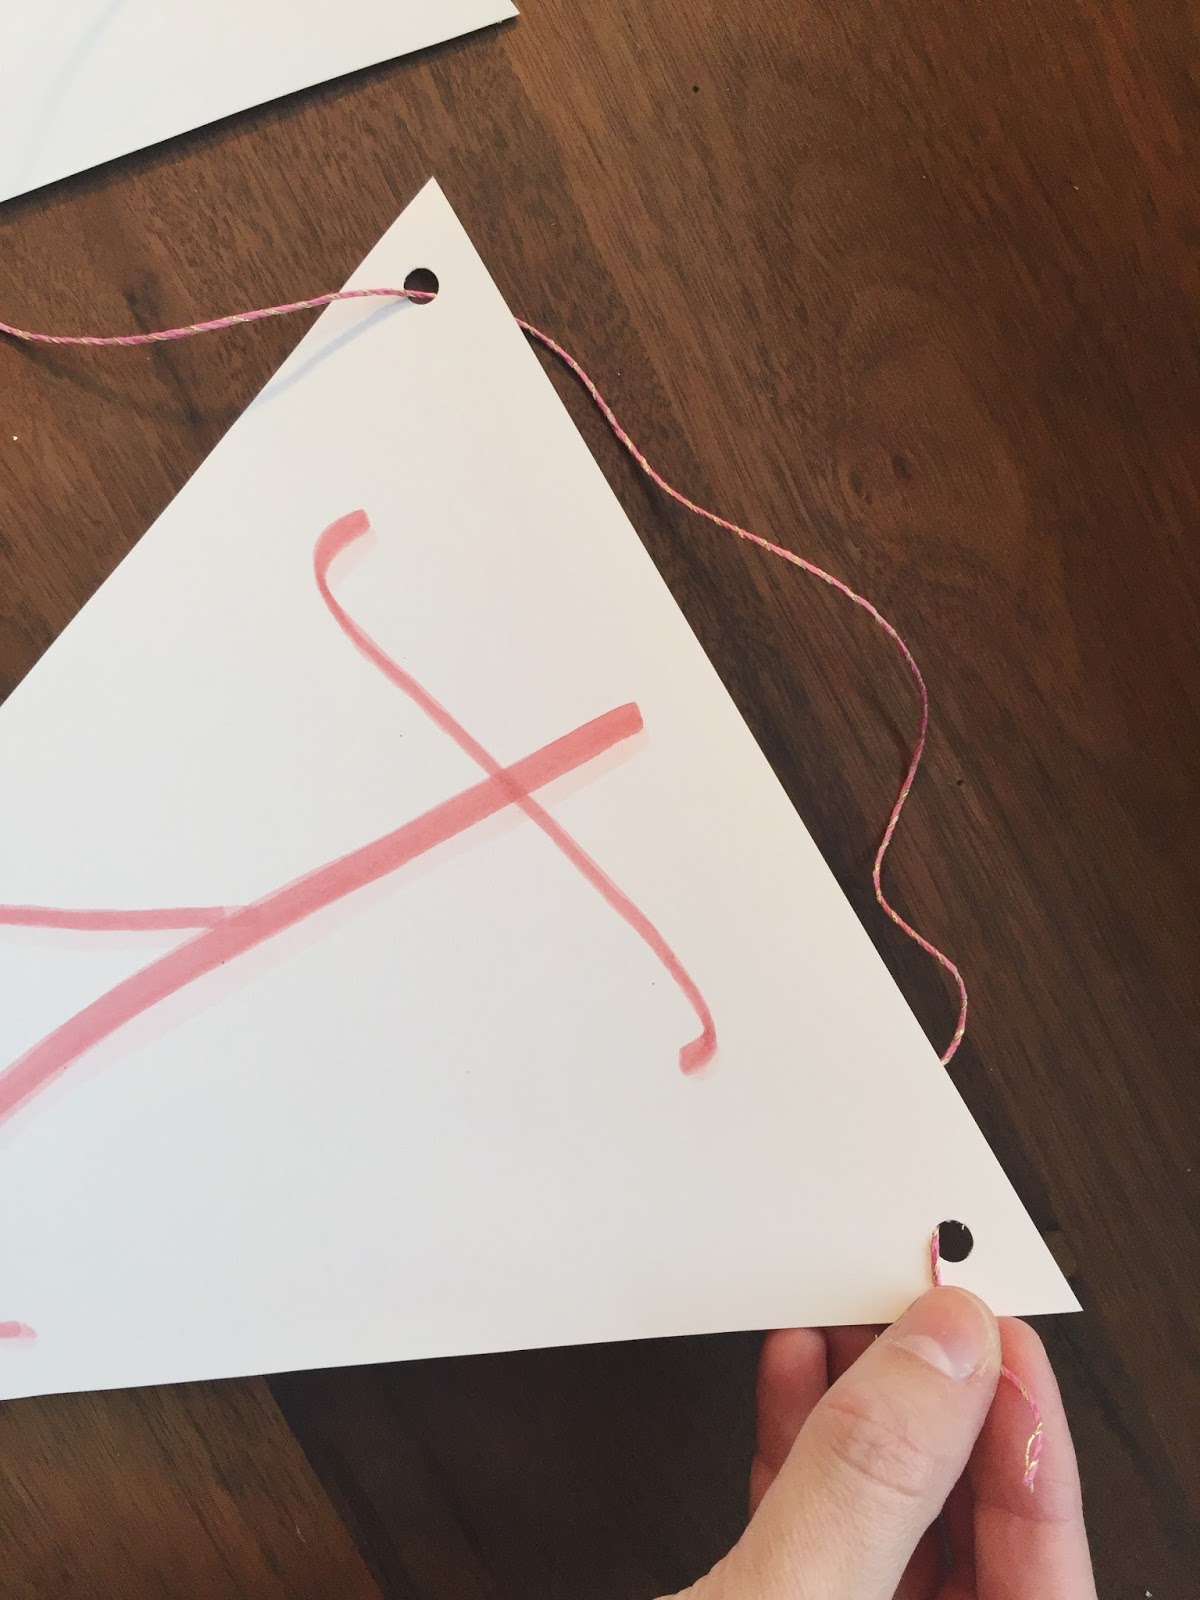
Once all your pennants are decorated, they are ready to be displayed. You can put them on your cord now, or wait until you're ready to hang them. Waiting can help you know how long you need to make your cord. When you are ready to add the cord, weave in through the first hole and out through the second so the cord goes behind the majority of the pennant.

Continue weaving until all your pennants are on the cord. You can space them now, or wait until the cord has been hung wherever you will be displaying it. To keep the pennants spaced how you want, use a small piece of tape on the back to secure the pennant to the cord.

I hope you enjoy your hand-made pennant banner and that it serves as a perfect custom touch for your party! If you have any questions about brush lettering or banner-making, please leave them in the comments.


Today I'm sharing a step-by-step guide to making your own simple, elegant pennant banner from scratch. In the past, I've used pre-cut pennants that I have purchased from the store. This can be a quick, easy option if you find a shape, color, and size you want. However, making your own banner from materials you might already have at home can cut cost.

How to make a DIY pennant banner
Your supplies will vary based on the type of banner you want to make. I have included the supplies I used for a simple, made-from-scratch banner. Other items you may want to use are patterned paper, glitter glue, paint pens, an embosser, lace paper, or stamps. Your banner can be as simple or detailed as you want.

My supplies include: sheets of card stock paper (one sheet per pennant), ruler, pencil, scissors, hole punch, Tombow Dual Brush Pens, and hemp cord.
For this banner, I made the pennants out of a full-size 8.5 x 11" sheet of paper. To get the shape, I first marked the middle of the page with a pencil.

Next I used the ruler to draw a line from the center of the page to the top left corner and another line from the center to the top right corner. You can do this for each pennant, or you can use a cut-out pennant as a template.

After drawing the lines, cut along them to create a triangle pennant.

After cutting out all your pennants, you will want to determine the placement for the holes from which the pennant will hang. I used the ruler to measure 1/2 an inch from the top and side of the banner on each corner. This gave me a guide for hole-punching the pennant.


After hole punching one pennant, I used it as a template for the remaining pennants.


Once all your pennants have been hole-punched, they are ready to be decorated. For this pennant, I used Tombow Duel Brush Pens to write one letter per pennant. Tombow's brush pens are great for creating the look of calligraphy with the brush tip, and come in a variety of colors.
Before writing on your pennants, I recommend sketching out your design. If you haven't worked with brush pens before, it is especially important to practice writing with one so you can create the look you want. When using the brush tip, use the long edge of the brush with pressure to create thick down-strokes. Write lightly with the tip of the brush to create thin up- and side-strokes. If you would like some more tips for lettering with a brush pen, check out this instructional post.

Once you have a design you like, you can free-hand the letters on the pennants, or you can lightly sketch them first in pencil. I'm a serial free-hander, so that's what I did. I used two shades of pink to write on the pennants, 772 in blush and 800 in baby pink. I used blush to write the letters and baby pink for a hint of shadow.


Tombow Dual Brush Pens are also great for lettering because they feature a fine tip that is perfect for touching-up mistakes and smoothing out lines.


Once all your pennants are decorated, they are ready to be displayed. You can put them on your cord now, or wait until you're ready to hang them. Waiting can help you know how long you need to make your cord. When you are ready to add the cord, weave in through the first hole and out through the second so the cord goes behind the majority of the pennant.
Continue weaving until all your pennants are on the cord. You can space them now, or wait until the cord has been hung wherever you will be displaying it. To keep the pennants spaced how you want, use a small piece of tape on the back to secure the pennant to the cord.

I hope you enjoy your hand-made pennant banner and that it serves as a perfect custom touch for your party! If you have any questions about brush lettering or banner-making, please leave them in the comments.


Comments
Post a Comment