How to Host a Beautiful DIY Party

I love to throw parties, whether it's a shower for a friend, a holiday bash, or a birthday get-together. One of my favorite things to do is create handmade pieces for parties. Besides enjoying making things for my friends, handmade pieces add a completely custom touch that you can't buy in any store.
Today I am sharing three tutorials for items you can create to add beauty and personality to your event, plus some tips for throwing your own party. The tutorials are for a hanging photo booth backdrop, custom guestbook, and decorative table runner.
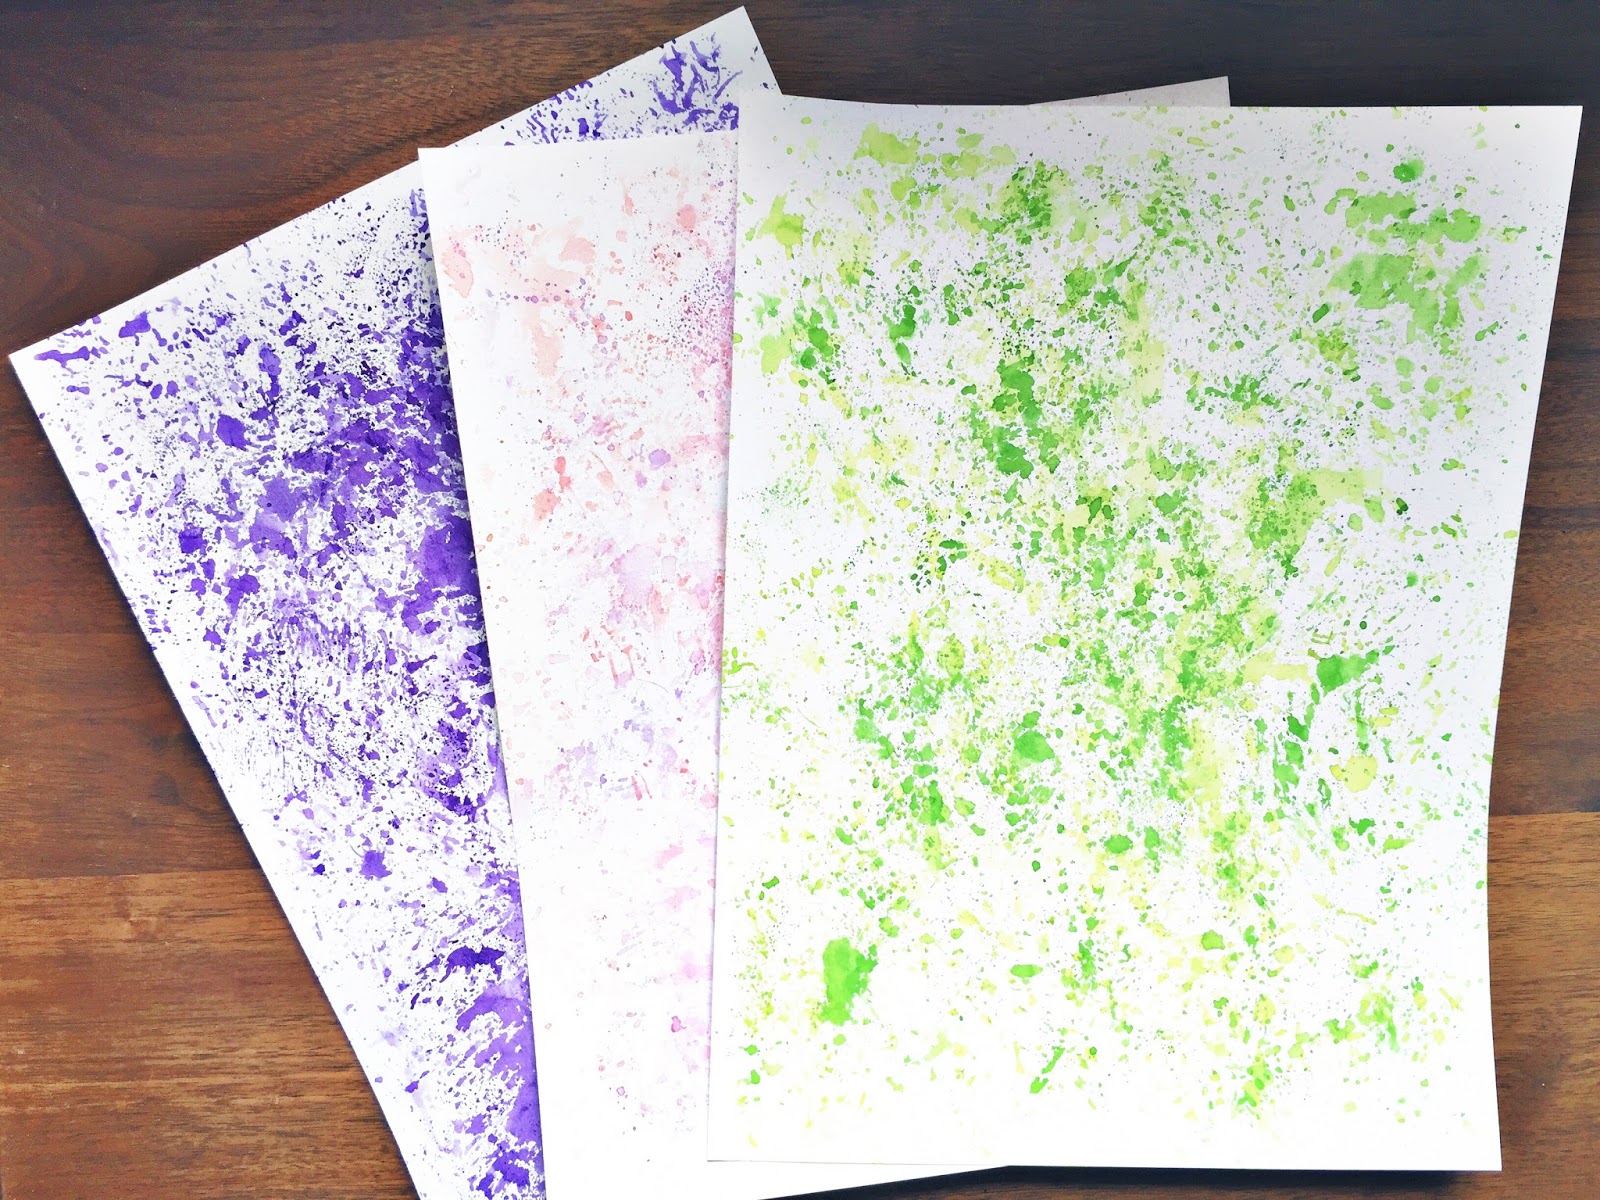
I chose a floral theme for my tutorials, but keep in mind that you can apply the concepts to any theme and color palette. I also incorporated a watercolor design on the paper used in each tutorial, which is simple to create using Tombow's Dual Brush Pens. So to start, check out this video on how I created the watercolor design.
Hanging Photo Booth Backdrop

My supplies include: mixed media paper (I recommend using a heavier paper like this when using the watercolor design method), yardstick or tape measure, compass, Tombow Dual Brush Pens and TwinTone Markers, scissors, hemp cord (or other decorative cording), Tombow Xtreme Adhesive, rod (dowel rod or any type of sturdy rod you have at home, I used a curtain rod insert), and Tombow Xtreme Adhesive Tabs.
Optional supplies: rubber stamp(s), scrap cloth or felt.

Step One: Determine the length and height of your backdrop. This will help you determine how many strings you will be hanging from your rod and how long they will be. From there, you can decide how many paper items you want to hang on each string. Spacing of the strings on the rod and the paper items on each string is completely up to you.
I used a rod that was about 42" in length. I made 8 strings and spaced them about 5" apart. To determine the length, I held the string up against the wall and cut one piece as a template for the other 7 strings. Remember to include several extra inches on the length of your string for tying.
Step Two: Determine the size and number of paper items you want to hang on each string. This will help you know how many items you need to create. I also recommend making two of each item so that each item is double-sided. That way, if your string flips or spins, it will look equally beautiful on each side.
For my backdrop, I created three types of paper items: a large flower, a small flower, and a leaf. I alternated layouts on every other string--three large flowers + four small flowers + four leaves; four large flowers + three small flowers + four leaves. As you begin creating your backdrop, you can always make more paper items if needed.

Once you have your measurements, I recommend laying out your rod and strings on a large flat surface. As you create the paper items, you can lay them out next to the strings to get a visual reference. I started by setting out two strings, one for each layout.
Step Three: Create your paper items. First, I decorated sheets of paper with a watercolor design, as shown in the video above. I used different shades of pink and purple for the flowers and green for the leaves. Then I used two methods--hand drawing and stamping--to create the flowers and leaves.

To create the flowers, I used a compass to draw circles on the paper. Then I used the fine tip of my Tombow Dual Brush Pens and the bullet tip of my Tombow TwinTone Markers to draw flowers inside the circles. To create the flowers, I used a simple method of drawing connecting squiggly and and arced lines moving in a counter-clockwise circle, as shown below.


I drew each flower all the way to the edge of the circle. For this example I used the bullet tip of the navy Tombow TwinTone Marker.

Once you have drawn all your flowers, cut them out. If you have a circle punch, you could use that in place of the scissors. Just make sure the size of the circles corresponds to your punch.

To create the leaves, I used a stamp and colored it with the brush tip of a green Tombow Dual Brush Pen. If you use this method, make sure ink is applied liberally across the stamp. You can use any stamp design for this project, but I recommend choosing a design that is symmetrical, or cut out in a symmetrical shape, so that it works well double-sided.

Flip stamp over and press down firmly and evenly to distribute color onto the paper. Place stamped shapes as close to each other as possible to maximize your paper space.

After you've filled your paper with shapes, cut them out or use a punch.

Step Four: Lay out and attach your paper shapes. First, I laid out my two string designs to get an idea of spacing and shape alternation. I put the "front" shape on one side of the string and the "back" shape on the other side.

Once I had a layout I liked, I used my Tombow Xtreme Adhesive to attach the shapes to the string and each other. Be sure to follow the application instructions included with the adhesive for best results. For the flowers, I applied two strips of perpendicular adhesive to make an "x" on the back (non-decorated) side of the paper.

I positioned one flower upside down under the string. I found it helpful to align the string with one of the strips of adhesive. This helped to hold the string in place while I positioned the other flower on top.

Place another flower on top, alternating the tape positioning. This will help the pieces of paper to stick together well and avoid separation. Press down firmly from the center moving outward.

I did the same with the leaf shapes, but made a cross shape with the adhesive. I alternated the direction in which the leaves pointed on each string to add variety.

Continue layout out and attaching shapes to the remaining strings.

Step Five: Tie strings onto rod by double-knotting and pulling tight. First, you will want to attach a string from which the rod will hang. Tie one end of the string to one end of the rod, then tie the opposite end of the string to the other end of the rod. The length of the string will impact how low your rod hangs, so take into consideration where you will be hanging the rod from, and how high/low you want it to hang.


Finally, tie all the decorated strings onto the rod. Slide them to position and trim off any excess string.

Enjoy your beautiful, hand-crafted floral backdrop!

Custom Guestbook

My supplies include: a blank soft cover book (use a notebook you have or find an inexpensive book at the store--I recommend unlined pages); mixed media paper; Tombow Dual Brush Pens and Irojiten Colored Pencils; compass; scissors; pencil; Tombow Mono Multi Liquid Glue, Mono Adhesive + Permanent, and Xtreme Adhesive Tabs; and Tombow Mono Twin Permanent Marker.
Step One: Trace or measure and outline your cover on mixed media paper and cut out. You can do the front cover only, or both the front and back. For my guestbook, I did both.

Step Two: Apply Tombow's Mono Multi Liquid Glue to the book cover. Apply glue using the broad tip and spread out thinly across the entire cover. You may want to spread the glue with a firm bristle paintbrush to get a thin, even coating.

Step Three: Carefully position paper over cover and align before pressing down.

Once paper is positioned, use the side of your hand to press down firmly from the center moving outward. If you are decorating the back cover, repeat steps two and three. Let glue dry before decorating paper.

Step Four: Create embellishments for your book. While you're waiting for the glue to dry, create your cover embellishments. Use watercolor-decorated paper to create and cut out flowers and leaves. Make flowers similar to step three in the photo booth backdrop tutorial above. Draw almond-shaped leaves with a pencil and decorate with the fine tip of a green Tombow Dual Brush Pen.


On plain paper, create a "Guestbook" banner and flower embellishments for inside pages. Below is an example of how to create the banner, draw it first in pencil, then fill in with the Tombow Mono Twin Permanent Marker.

Use the fine tip of the Mono Twin Permanent Marker to outline the banner and add small details. Use the broad tip to write over the word "guestbook."


Cut out the banner leaving a small border around the edges.

Next, draw some flowers with Tombow's Irojiten Colored Pencils on the plain white mixed media paper to use as embellishments inside the book. I drew two flowers together, one in rose pink and one in crocus.

Cut out the flowers and apply a strip of Tombow's Mono Adhesive + Permanent to the back.

Firmly press flowers onto the inside pages.

Step Five: Decorate your guestbook cover. First, I used the watercolor design method (from the video at the beginning of this post) to cover the front and back cover of the book. Let dry before adding cover embellishments.

Next, lay out your cover design so you know how you want to position the items.

When the cover is dry, apply strips of Mono Adhesive + Permanent to the back of the flowers in perpendicular lines. Then press them onto the cover.


To adhere the banner, I used Tombow's Xtreme Adhesive Tabs to help it "pop" off the cover. Follow the instructions on the tabs and apply them to the back of the banner.


Remove the tab liners, position the banner over the flowers and when you like the positioning, firmly press the banner in place.

Finally, using the pen tip of the Mono Multi Liquid Glue, apply and spread a small dot of glue on the back of the leaves.

Position the leaves on the cover and press down firmly.

Your book is now ready for your party! Set out your Tombow Dual Brush Pens and TwinTone Markers for your friends to use as they sign the book. Use the watercolor design to make an instructional sign and pop it in a frame.

Turn it into a photo book with mini instant photos of your guests standing in front of your photo booth backdrop. Use your Tombow Mono Twin Permanent Marker to write on the photo borders and your Mono Adhesive + Permanent to place photos in the book!


Decorative Table Runner

My supplies include: mixed media paper; compass; pencil; scissors; Tombow Dual Brush Pens, TwinTone Markers, and Mono Adhesive + Permanent.
Step One: Decorate sheets of mixed media paper using the watercolor method. For my table runner, I created flowers and leaves, so I chose colors accordingly.
Step Two: Create flowers and leaves. To make the flowers, I used a compass to draw circles on the back of my decorated paper. I made three different sizes of circles.

To create leaves, I made two templates out of blank mixed media paper. I traced the templates on the back of my decorated paper.


Cut out your flower and leaf shapes.


Next, decorate them using Tombow Dual Brush Pens and TwinTone Markers. To make the flowers, I drew a larger design of the flower in step three of the photo booth backdrop tutorial above. To draw on the leaves, I used the brush tip on a green Dual Brush Pen.

Step Three: Lay out and adhere flowers and leaves. Layout your table runner, if possible on the table you will be putting it on for your party. The size of your table will affect how many leaves and flowers you will need. Laying out your runner will help you see if you want to add any additional leaves or flowers.

You may want to wait to adhere your runner until you are ready to start decorating for your party. When you are ready to adhere your leaves and flowers, use Tombow's Mono Adhesive + Permanent to attach overlapping pieces of paper. Apply adhesive to the bottom of upper pieces and to the top of lower pieces.


Enjoy your lovely, handcrafted table runner!


Party Tips

Now that you've got some beautiful DIY party decor, finish things off with these tips!
>> Create a custom playlist or station to set the mood for your party.
>> Make some extra paper flowers and use your Tombow Xtreme Adhesive Tabs to attach them to paper straws.
>> Need a game? Make your own version of Scattergories with custom categories that relate to your party.
>> Find some fun ideas for treats and drinks on my Pinterest board. Party-goers always enjoy a delicious and pretty punch!
>> Make your own chalkboard art for display or use in your photo booth.
>> Look for items you have at home that you can use, like silk flowers, greenery, china or glass plates, picture frames, and vases or pitchers.
>> Use my tutorial to make a custom pennant banner for your party.
>> Check discount bins or stores for items that you can use or repurpose for your party. Spray paint can make anything spiffed up to match your theme. Try glitter spray paint for added glitz.
>> Practice your brush lettering and make some custom party signs.
What are your go-to DIY party tips?


Comments
Post a Comment